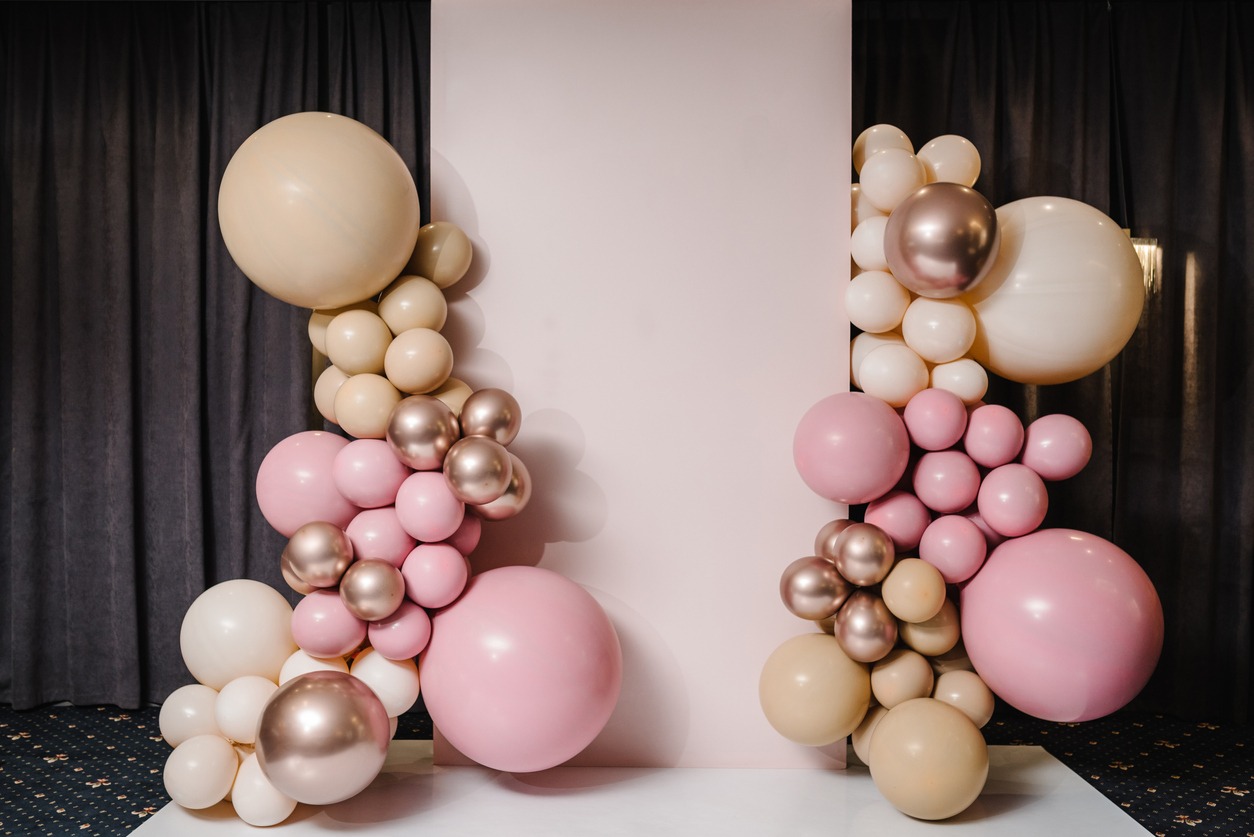
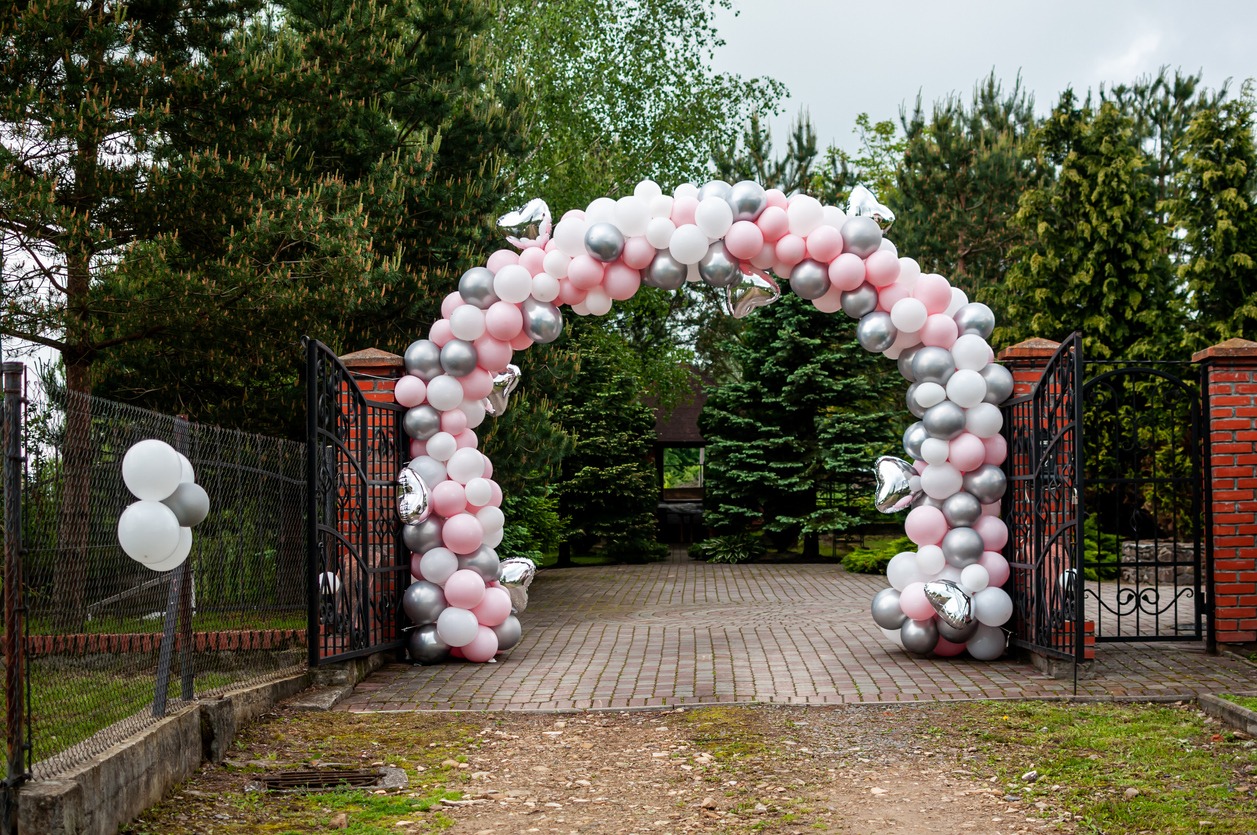
Any party or event would benefit from balloon garlands and arches. It improves the décor, draws attention to the color scheme, and serves as a perfect background for pictures, buffet tables, and other things. Additionally, it doesn’t cost much but has a significant visual influence on the event. You don’t need to buy a pre-made arch or employ a professional to make your own customized balloon arch because they are simple to make. Discover here how to create your own.
Balloon Garland Supplies
1. Balloons
A large number of latex balloons are required. If you want to create a more distinctive and eye-catching balloon garland rather than a straightforward arch, the size of the balloons is important. Typically, you will need about 100 balloons to create balloon arches that can cover half of a doorway or half of a wall. The quantity will approach 200 if you wish to complete a whole arch. In order to allow for errors and tries, it is preferable to have more balloons than not enough.
2. Balloon inflater or Balloon hand pump
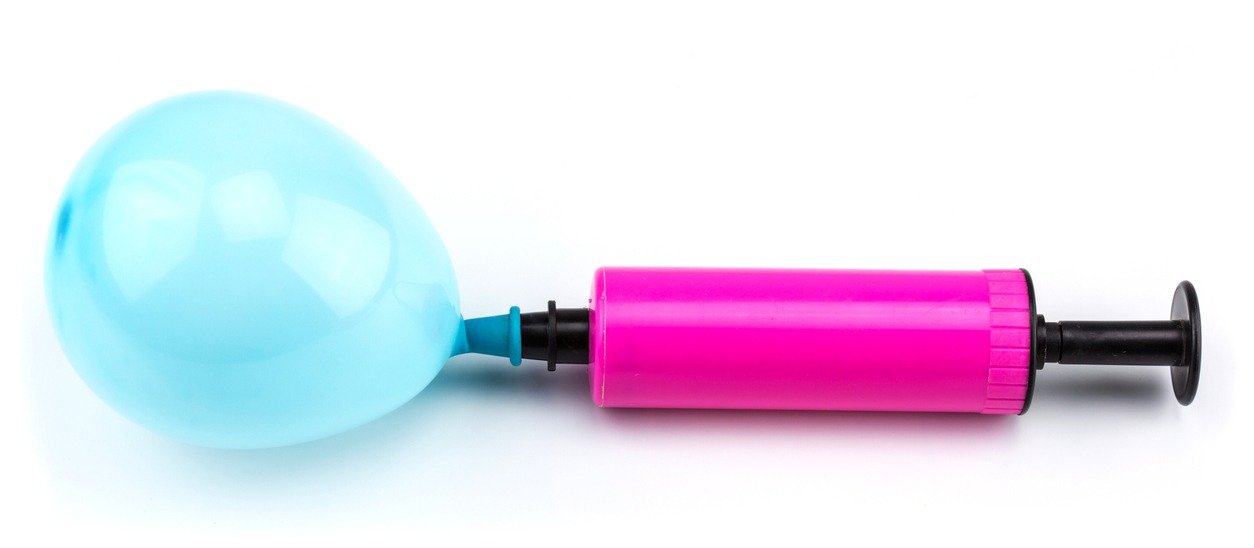
To fill all those balloons with air, you will require a balloon pump. A cheap balloon hand pump is an option, although it still needs improvement. Since planning a party requires labor, it is preferable to purchase an electric balloon pump to save lots of time and effort.
3. Balloon Arch Kit
You can purchase craft wire and trim it to the desired length for smaller arches using a wire cutter. However, it’s advisable to purchase a balloon arch kit so that you may reuse it for your upcoming party if you decide to go for a full-on arch.
4. Balloon Decorating Strip
This is a necessary tool to create a garland. Things can be made simpler by using this balloon decoration strip. A balloon decorating strip comes with adhesives and holes where the balloon knot can be inserted, allowing you to attach several balloons together.
5. Command Hooks
You’ll need command hooks if you’re hanging your balloon garland or arch from the ceiling or wall. The advantage of command hooks is that they prevent the need for additional wall holes. Additionally, since balloon garlands are lightweight, nothing sturdy is required.
6. Glue Dots
For securing the balloons into the holes at the project’s completion, you will need glue dots. Simply put, glue dots are strips of dots of glue. As you use them, peel them off one at a time. If you already have a glue gun, you can use it instead, but glue dots are easier to use.
7. Embellishments
Although they are not necessary, if you want to add fresh or artificial flowers, greenery, tassels, or other decorative accents to the balloon garland or arch, you can do so.
Steps on How to Make a Balloon Garland
A balloon garland can be utilized to adorn the party’s entrances, the buffet table, or as a backdrop for photographs. You can drape it as you wish; some people hang it straight up on a wall, while others hang it in a curving pattern on doors or arches.
1. Blow up the balloons
Use an electric inflator or a pump to blow up balloons. In order to make it more enjoyable and intriguing, it would be ideal to have balloons of various sizes and colors. Buy balloons of the same size and inflate them up to different sizes if you have balloons of different sizes; otherwise, blow them up to the size for which they were purchased.
2. Attach balloons to decorating strip
Each balloon’s end should be inserted through the hole using the balloon decoration strip to secure it. Don’t load it with balloons just yet; leave a foot or so of length at the beginning and end of the strip. This will make it simpler to hang the garland on the wall.
3. Keep attaching balloons
As long as you want the garland to be long, keep adding balloons to the decorating strip. Set out a few smaller balloons so that you may subsequently fill in any gaps. Don’t worry too much about the color pattern since it never turns out the way you wanted it to when you really hang the colors on the wall. Fill it up as much as you can; you can always arrange them differently when you hang it. Additionally, you will probably add extra balloons at the end to mix up the sizes and colors.
4. Set up command hooks
Wherever you wish to hang the balloon garland, install command hooks on the wall. To ensure that the balloon garland is placed exactly where you want it, it is helpful to hold it up before affixing the command strips.
5. Attach the balloon garland to the wall
Put a command hook through one of the holes on the decorative strip’s end. Assemble the other half of the balloon arch next, either using the same technique or by threading baker’s twine through the hole in the decorative strip and securing it to the hook. The balloons can sometimes become thick and cannot be laid flat on the hook. There are instances when you might need to add more balloons or take away a few.
6. Fill in holes
Use glue dots to affix extra balloons into odd locations after the balloon garland is up. The garland can also be decorated with a few smaller balloons that have been inflated. To prevent the balloon’s knot from sticking out, it is recommended to apply the glue dot close to the knot and secure it to the interior of the balloon. Next, apply another glue dot to the extra balloon and attach it to a balloon on a different side. By doing this, you can prevent the balloon from randomly dropping during the celebration. Try to keep adding more balloons to fill in any gaps or empty spaces.
7. Add embellishments
You may choose to add decorations. To decorate the areas, add some flowers, leafy garlands, or tassels using glue dots or a low-temperature glue gun.
How to Make a Balloon Arch using an Arch Kit
Any event looks beautiful against a balloon arch! It might also be used as a festive decoration or as a magnificent entry for the party area or the aisle. The best and simplest way to set up a balloon arch is to get a balloon arch kit. A kit eliminates the need to hand tie up the balloons that must be attached to the arch’s construction and eliminates the requirement to construct a base for the arch to stand on.
Additionally, building the arch’s actual structure from scratch would be challenging. Metal wires would be the greatest substitute, but the more you have, the flimsier the arch would become. So, purchasing a kit can make party preparation less difficult and quicker! Implement it quickly by following these guidelines:
1. Set up the base
Add the provided pipes to the bases on the left and right. After that, get the water bag and put water in it. Put it on the foundation. The balloon arch will be supported by the water bag, which will keep it stable throughout the celebration.
2. Blow up the balloons
Utilize a balloon inflator to blow up the balloons. You don’t necessarily need to purchase an additional inflator because the package comes with a manual pump.
3. Use the knotter to tie the balloons
For your convenience, the kit includes a knotter as, for some people, tying a knot in the balloon while preserving its original size when you blow it up is the trickiest part. You can accomplish it more quickly and effectively using the knotter.
4. Put the balloons in the balloon clip
Five balloons can be grouped together with the balloon clip. Without this clip, you must manually bind your balloons with strips. Continue until all clips have been utilized to completely cover the length of the pole.
5. Insert clip on the balloon pole
Place the fiber pole in the center of the balloon clip after the balloons are in place. Insert the balloons one at a time until the entire arch is filled. How you filled the knotter with balloons of various colors and placed the clip on the balloon pole will determine the pattern. Keep your desired design in mind while you work.
6. Insert the balloon pole to the base
The balloon pole should then be inserted into the bases on each side. And there it is—a stunning balloon arch!
Conclusion
You may have believed anything so beautiful must be extremely expensive and time-consuming after viewing lovely images on Instagram and Pinterest. However, you don’t need to be a skilled decorator or hire a pro to make your balloon garland appear that beautiful. We sincerely hope that the above instructions will be useful to you as you work to create balloon garlands and arches for any event you have in mind!


