A Life in Pictures: How to Ask for Pictures From Friends When Creating a Photo Memory Wall
To create a photo memory wall, start by defining its purpose and identifying key moments you want to showcase. Reach out to friends who were part of these events, explaining your project and its significance. Craft an engaging request that clearly outlines the types of photos you're seeking and offer multiple submission options. Once you receive the images, organize them efficiently and select the best ones that capture meaningful experiences. Arrange your wall thoughtfully, experimenting with different layouts and groupings. Finally, share your finished product with those who contributed, celebrating the collective memories you've assembled. The expedition doesn't end here; there's much more to investigate in bringing your life's story to life.
Defining Your Photo Wall's Purpose
Before you start selecting photos and planning your layout, it's crucial to define the purpose of your photo memory wall. Ask yourself what story you want to tell or what emotions you want to arouse when people view your collection. Are you celebrating a specific event, showcasing your family's history, or creating a visual timeline of your life?
Consider the theme you want to convey through your photos. Will it be a chronological display of milestones, a tribute to a loved one, or a representation of your favorite travel memories? Defining your purpose will help guide your photo selection process and guarantee a cohesive final product.
Think about your audience as well. Will this wall be for personal enjoyment, or do you plan to share it with guests in your home? If it's for a public space, you might want to focus on more universally appealing images. For a private area, you can include more intimate or sentimental photos. By clearly defining your photo wall's purpose, you'll create a meaningful and impactful display that resonates with both you and your viewers.
Identifying Key Moments and Events
With your photo wall's purpose clearly defined, it's time to pinpoint the key moments and events you want to showcase. Begin by creating a timeline of your life, highlighting significant milestones and memorable experiences. Consider major life moments such as graduations, weddings, births, and career achievements. Don't forget to include smaller, yet equally meaningful events like family outings, holiday gatherings, and personal accomplishments.
As you identify these key moments, think about the emotions and memories associated with each one. Which experiences have shaped you the most? What stories do you want to tell through your photo wall? Remember to include a diverse range of events that represent different aspects of your life and relationships.
Once you've compiled your list of key moments and events, prioritize them based on their importance and relevance to your photo wall's purpose. This will help you focus your efforts when reaching out to friends for specific images. By clearly identifying the moments you want to capture, you'll be better equipped to communicate your needs and gather the most meaningful photos for your memory wall.
Reaching Out to Friends

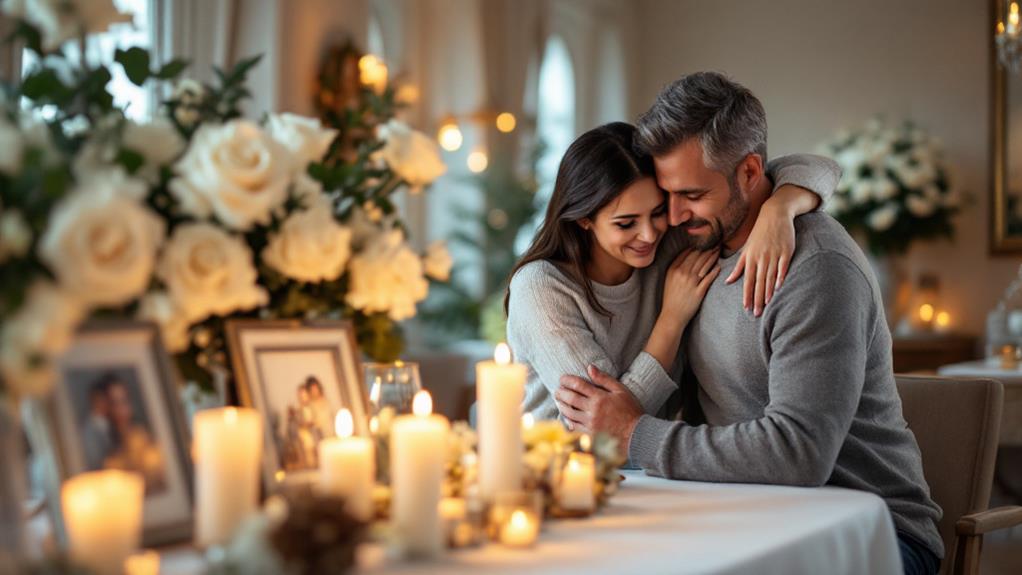
Now that you've identified the key moments for your photo wall, it's time to reach out to friends and family who might have precious images to contribute. Start by creating a list of people who've been part of your life during those key moments. Reach out to them individually, explaining your project and why their photos are important to you.
Be specific about which events or time periods you're looking for, as this will help them search their archives more effectively. Ask if they can share digital copies or if you can scan their physical prints. Offer to cover any costs associated with scanning or shipping.
Consider creating a shared online folder where friends can easily upload their photos in chronological order. This will help you organize the images as you receive them. Don't forget to ask for any relevant details about the photos, such as dates, locations, or the names of people in them.
Be patient and follow up politely if you don't hear back. Some friends might need time to dig through old albums or hard drives. Express your gratitude for their help in preserving these memories.
Crafting a Compelling Request
Crafting an essential request is vital to getting the images you need for your memory wall. When reaching out to friends and family, be clear about your project's purpose and why their contributions matter. Explain that you're creating a photo memory wall and would love to include photographs they might have of shared experiences or meaningful moments.
Be specific about the types of photos you're looking for. Mention any themes, time periods, or events you're focusing on. For example, you might ask for photos from a particular vacation, holiday gatherings, or milestone celebrations. This helps your friends narrow down their search and increases the likelihood of receiving relevant visuals.
Make it easy for people to share their photos. Offer multiple options for submitting pictures, such as email, text, or a file-sharing service. If you're open to physical photos, provide a mailing address and assure them you'll return the originals.
Express your gratitude in advance and offer to share the final result of your photo memory wall. This personal touch can motivate people to participate and make them feel valued in your project.
Organizing Received Photos
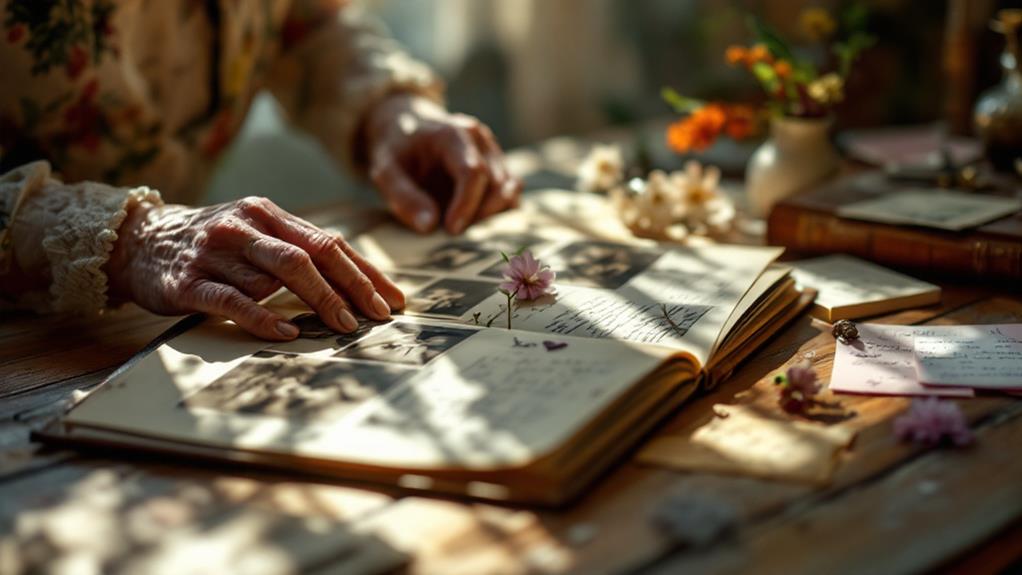
Once you've successfully gathered photos from friends and family, the next step is to organize the received images effectively. Start by creating digital folders labeled with names, dates, or events to maintain context and chronology. This system will help you easily locate specific photos when you're ready to create your photo memory wall or photo book.
Use photo management software or cloud storage to streamline the process of uploading, sorting, and accessing the shared photos. Establish a consistent file naming convention, such as "YYYY-MM-DD_Event_Name", to keep your photo library organized. This approach will make it easier to find and select the perfect framed photos for your display.
Consider creating a comprehensive spreadsheet or database to track where each photo is stored and any relevant details about the image. This step is an important part of maintaining a well-organized collection. Regularly review your photo library to identify any gaps or areas that need additional photos from friends to complete your collection of good times and memories.
Selecting the Best Images
With a collection of photos at your fingertips, it's time to curate the best images for your memory wall. Focus on selecting photos that capture meaningful moments, relationships, and experiences that truly reflect the person's life. Prioritize high-quality, well-composed images that showcase their personality and interests.
Aim for a diverse mix of formal portraits, candid shots, and group photos to provide an extensive visual narrative. Don't forget to include big family gatherings, which often hold special significance. These images will help tell the story of the person's life and relationships.
As you sift through the photos, be critical in your selection. Avoid including low-quality, blurry, or unflattering images that may detract from the overall display. Remember, each photo should contribute to the narrative you're creating.
Consider organizing the chosen photos thematically or chronologically to create a cohesive and visually appealing memory wall. This approach will help viewers follow the person's life expedition and appreciate the connections between different moments and experiences. By carefully selecting and arranging the best images, you'll create a powerful and memorable tribute.
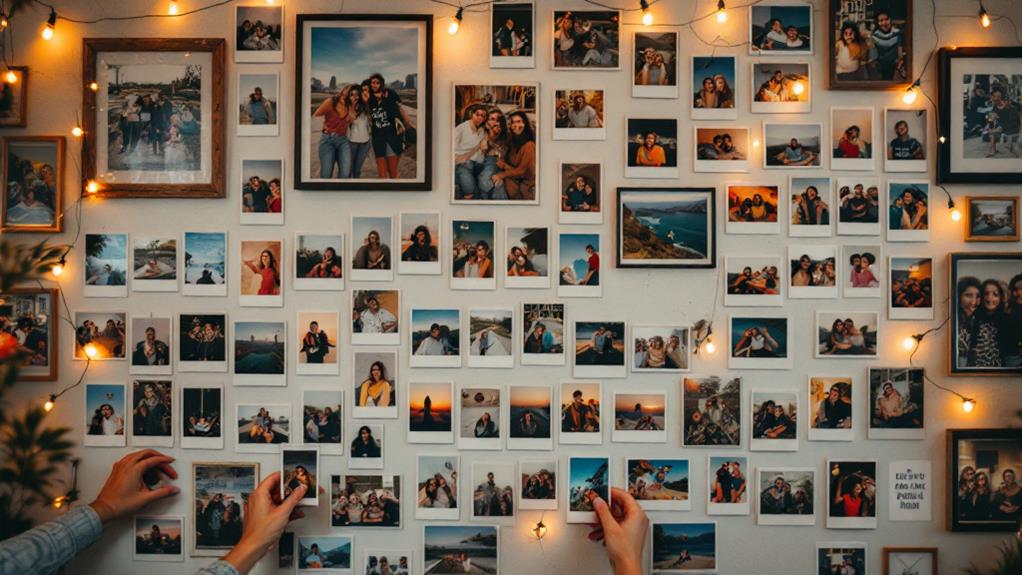
Arranging Your Memory Wall
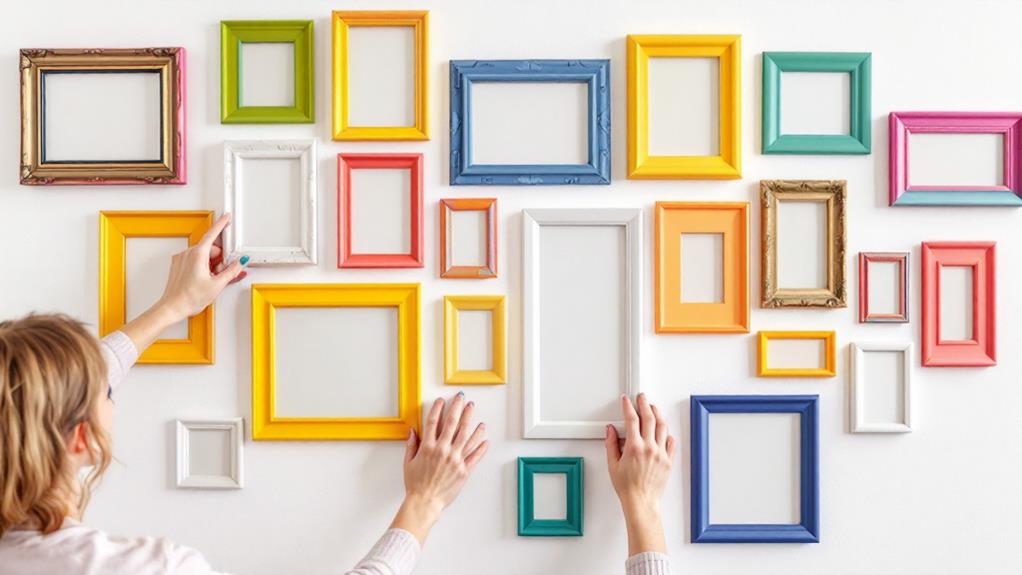
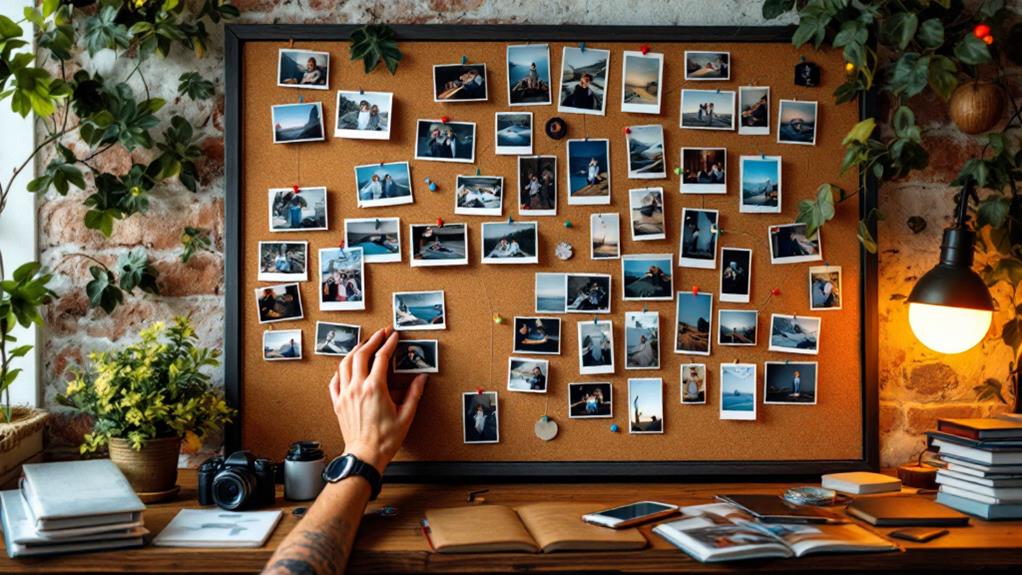
After selecting your photos, it's time to plan their arrangement on your memory wall. Start by laying out your pictures on the floor or a large table to experiment with different layouts. Consider grouping photos by theme, chronology, or color scheme. Even though you might be tempted to arrange them randomly, a thoughtful layout will create a more visually appealing and meaningful display.
Measure your wall space and use painter's tape to mark the area where you'll hang your photos. This will help you visualize the final result and guarantee everything fits. Create a focal point with a larger or more significant image, then build around it. Mix different frame sizes and orientations to add visual interest, but maintain a sense of balance.
Consider using a grid pattern for a clean, organized look, or try a more organic arrangement for a relaxed feel. Leave some space between frames to prevent a cluttered appearance. If you're unsure about placement, create paper templates of your frames and tape them to the wall to test different arrangements before committing to hanging the actual photos.
Sharing the Finished Product
Your newly created image memory wall is a personal artwork worth sharing. Now that you've assembled this visual journey of memories, it's time to showcase your efforts to friends and family. Start by taking high-quality photos of your finished wall, capturing both the overall composition and close-ups of individual sections. These images will allow you to share your creation with those who can't see it in person.
Consider hosting a small gathering or open house to display your image memory wall. This event can be an excellent opportunity to thank those who contributed pictures and share stories behind the images. You might even encourage guests to bring additional photos to expand your collection further.
Share your wall on social media platforms, creating a digital album that highlights your favorite sections. This approach allows distant friends and relatives to appreciate your work and possibly contribute more memories. Don't forget to include family portraits and group shots that showcase the connections between people in your life.
Related posts